A subdomain is an address that sits in front of your domain, such as blog.yourbusiness.com or shop.yourbusiness.com. Each one can show its own website. Subdomains do not count toward your plan's domain limit.
1. Create the subdomain
- Open Websites in the left menu and click your domain.
- In the Subdomains section, click + Add Subdomain.
- Type the first part only, for example
blog, and click Create Subdomain.
The page says the subdomain is being created and is ready in about 60 seconds. It shows as provisioning until it is done.
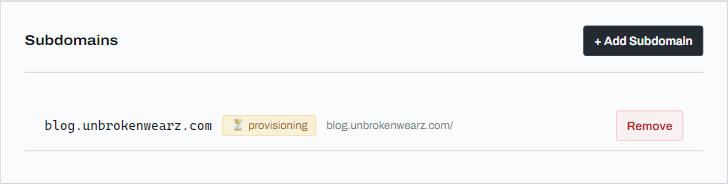
If your domain uses our nameservers, you do not need to change any DNS settings for the subdomain. See Pointing your domain to ABC Teck.
2. Upload its website
Each subdomain has its own folder. Open File manager and click Up once to go to the top folder of your account. You will see a folder named after the subdomain, such as blog.yourbusiness.com, next to httpdocs. It is not inside httpdocs.
Open that folder. It starts with a placeholder index.html. Upload your own index.html (or a zip, then Extract) and it replaces the placeholder. See Upload files and extract a zip in the File manager.
Your main website in httpdocs is not affected.
3. Install its SSL certificate
A subdomain does not get its SSL certificate automatically. Until you install one, browsers show a certificate warning on https://.
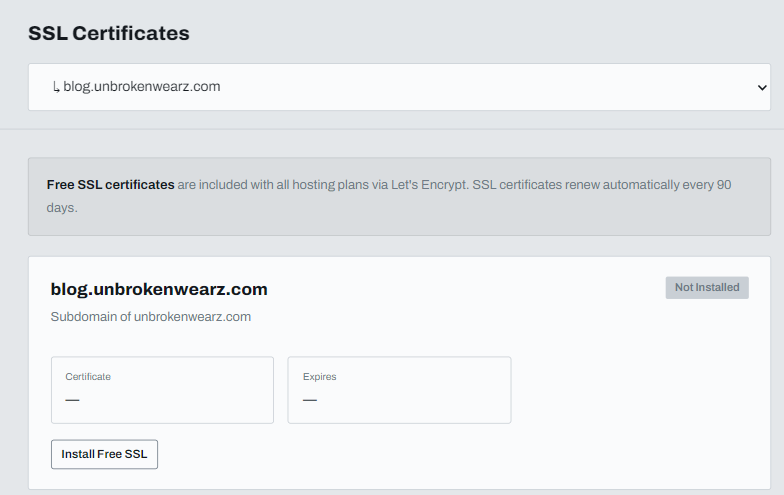
- Open SSL in the left menu.
- In the list at the top, choose your subdomain. Subdomains are marked with an arrow.
- The status says Not Installed. Click Install Free SSL.
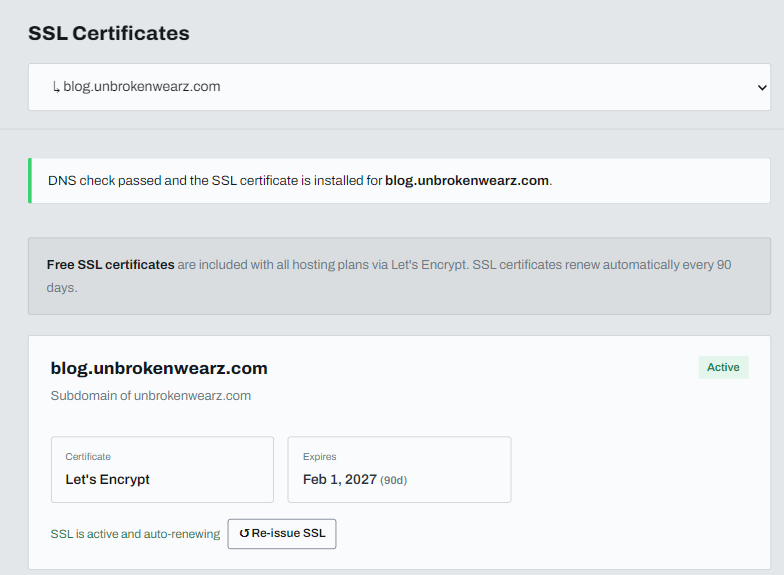
After a few seconds the page confirms that the DNS check passed and the certificate is installed, and the status changes to Active. It renews on its own after that.
Remove a subdomain
Click Remove next to it in the Subdomains section.