WordPress lets you edit your pages, text and images in a browser, with no code. We install it for you: you fill in a short form and wait a few minutes.
Before you start
Your domain must be added and show as Active. WordPress can only be installed on an active account, so if you just added your domain, wait for setup to finish.
1. Open Website Settings
Click Website Settings in the left menu and choose your domain. The WordPress section says it is not installed yet and has an Install WordPress link. Click it.
2. Fill in the form
- Site Title: the name of your site. You can change it later.
- Admin Username: what you type to sign in. It starts as
admin. Change it to something less obvious, becauseadminis the first name attackers try. - Admin Password: at least 8 characters. Use a long one and keep it in a password manager.
- Admin Email: an address you check. WordPress sends password resets here.
Click Queue WordPress Install. This usually takes 1 to 3 minutes.
3. Open your site
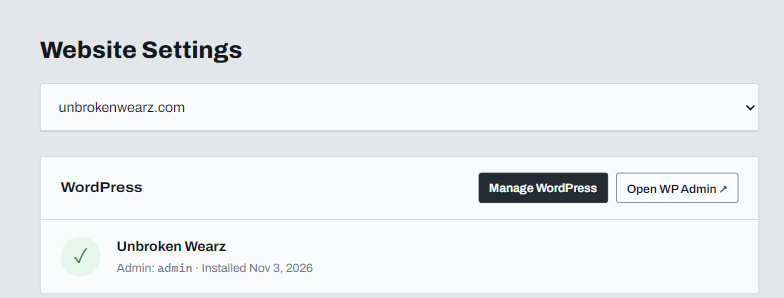
When it finishes, the WordPress section shows a green tick, your site title and the admin username, with two buttons: Manage WordPress and Open WP Admin.
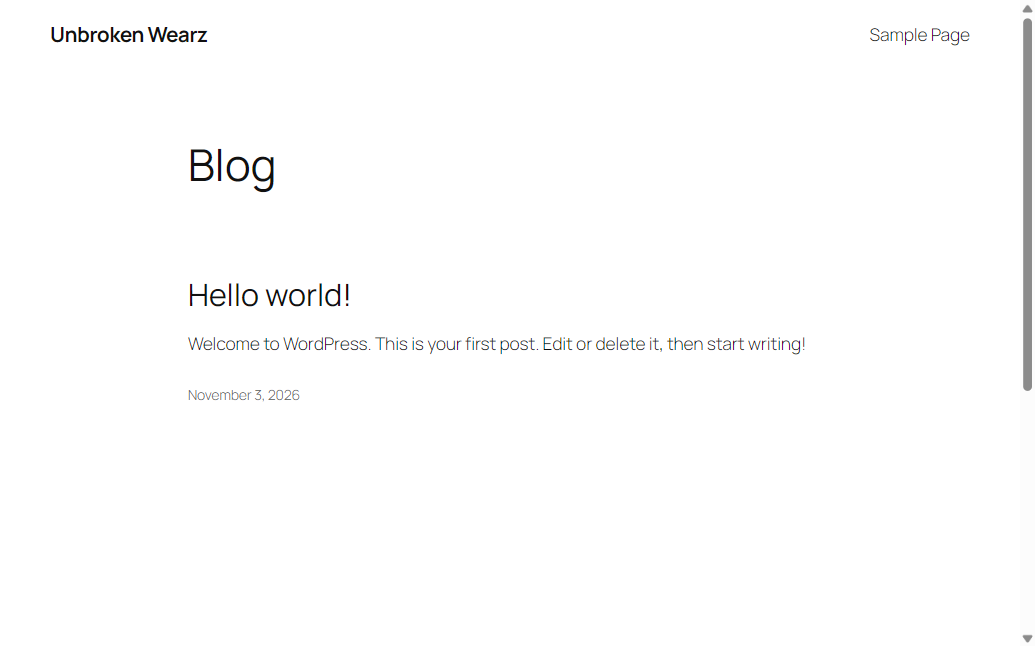
Visit your domain to see the new WordPress site. It takes over the address, replacing the page that was there before.
4. Sign in and edit
Click Open WP Admin, or go to yourdomain.com/wp-admin, and sign in with the username and password you chose. From there you can pick a theme, edit pages and add posts.
Keeping a site you already uploaded
Do not install WordPress on a domain where you have uploaded a site you want to keep. Use a separate domain, or open a support ticket and ask how to run both.
Remember that your domain must point to us for visitors to see it. See Pointing your domain to ABC Teck.